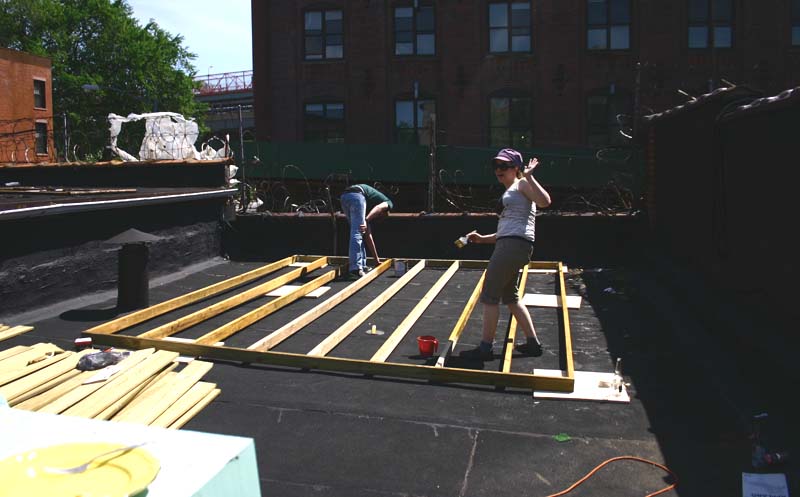
Jeff emerges on Saturday morning to start our deck.
Well, we are almost done with our roof deck and worn out beyond belief! We planned on making this a two weekend project, but Lowe’s delivered the wrong sized lumber last weekend, so we were left with only two days. Luckily, on Saturday, some lovely friends helped us out and got the project way ahead of schedule before we were on own for Sunday.

After much hauling, everything we needed was up on the roof.
We ended up only doing one thing by the book, so in a few months we may be hating ourselves for some of our less than kosher choices. The deck frame is properly resting on 3/4″ plywood squares and seems to be pretty level, and the deck itself is soundly built, but we went against the advice of many people who said we shouldn’t paint the decking, and did it anyway. I can’t explain why I do some things when I’m not supposed to. I guess I just like to tempt the gods (and I just couldn’t believe that the crazy exterior primer and exterior porch paint wouldn’t last at least a few years before we move).
The deck chairs and table are painted with the same primer and paint, but I’m still waiting for the cushions to arrive in the mail.  The plants I ordered online were MUCH smaller than I thought they would be, but I’m crossing my fingers that they grow super fast and actually add some GREEN to the garden! We ended up going with rosemary and barberry bushes instead of boxwood because of everyone’s comments that they smell like cat pee. Good advice as I have a very sensitive nose and do not like the smell the cat pee AT ALL.

Lounge chairs primed and plants planted!
I’m still skeptical of my choice to use the yellow Ikea stools. They were only $2 each, so it won’t be a huge loss if I still hate them when we are done. I’ll post pictures of the finished project just as soon as we have one!
-
- Step 6ish: Prime and paint

-

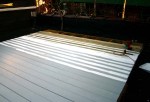
- Step 5: Lay the decking

-

- Step 4: Level out frame on plywood squares
-

- Step 3: Weatherproof the frame
-

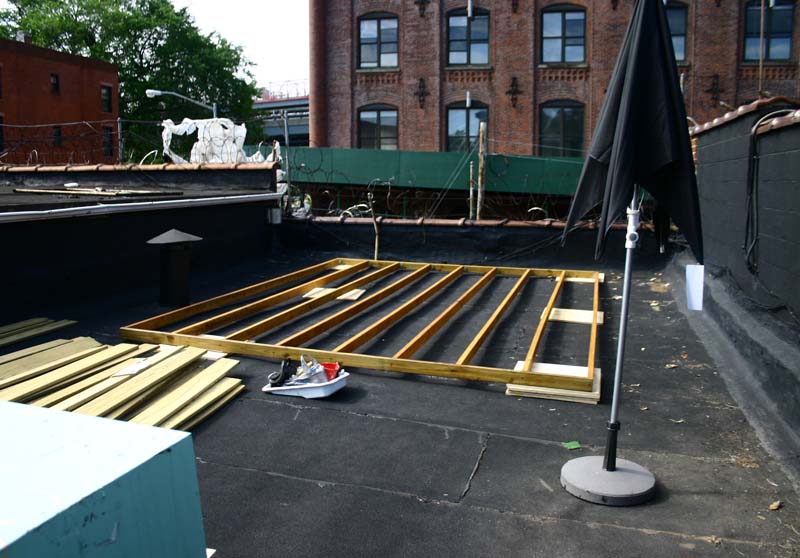
- Step 2: Build the frame

-

- Step 1: Loosely lay out deck position