
 My nephews asked sweetly if I could make them stuffed dragons with their names on them, adding even more sweetly that “they would make REALLY good Christmas presents… if I needed any ideas or anything”. I told them I’d think about it, but what I didn’t tell them was that I had never actually made a stuffed ANYTHING, and that I wasn’t really sure I knew how. This post is less about the specifics of the dragons themselves, and more about how I patterned them and how you could use the same techniques to pattern any animal!

The first thing I made was a mock-up of a basic dragon “blob” in muslin based on what I thought the pattern would be. I kept the seams out when stuffing the body so pinning and changing the pattern would be easier. This is a technique I use often when making clothing and costumes, so it wasn’t much of a stretch for me to use the same geometry skills to figure out the shape of a fat, friendly dragon.
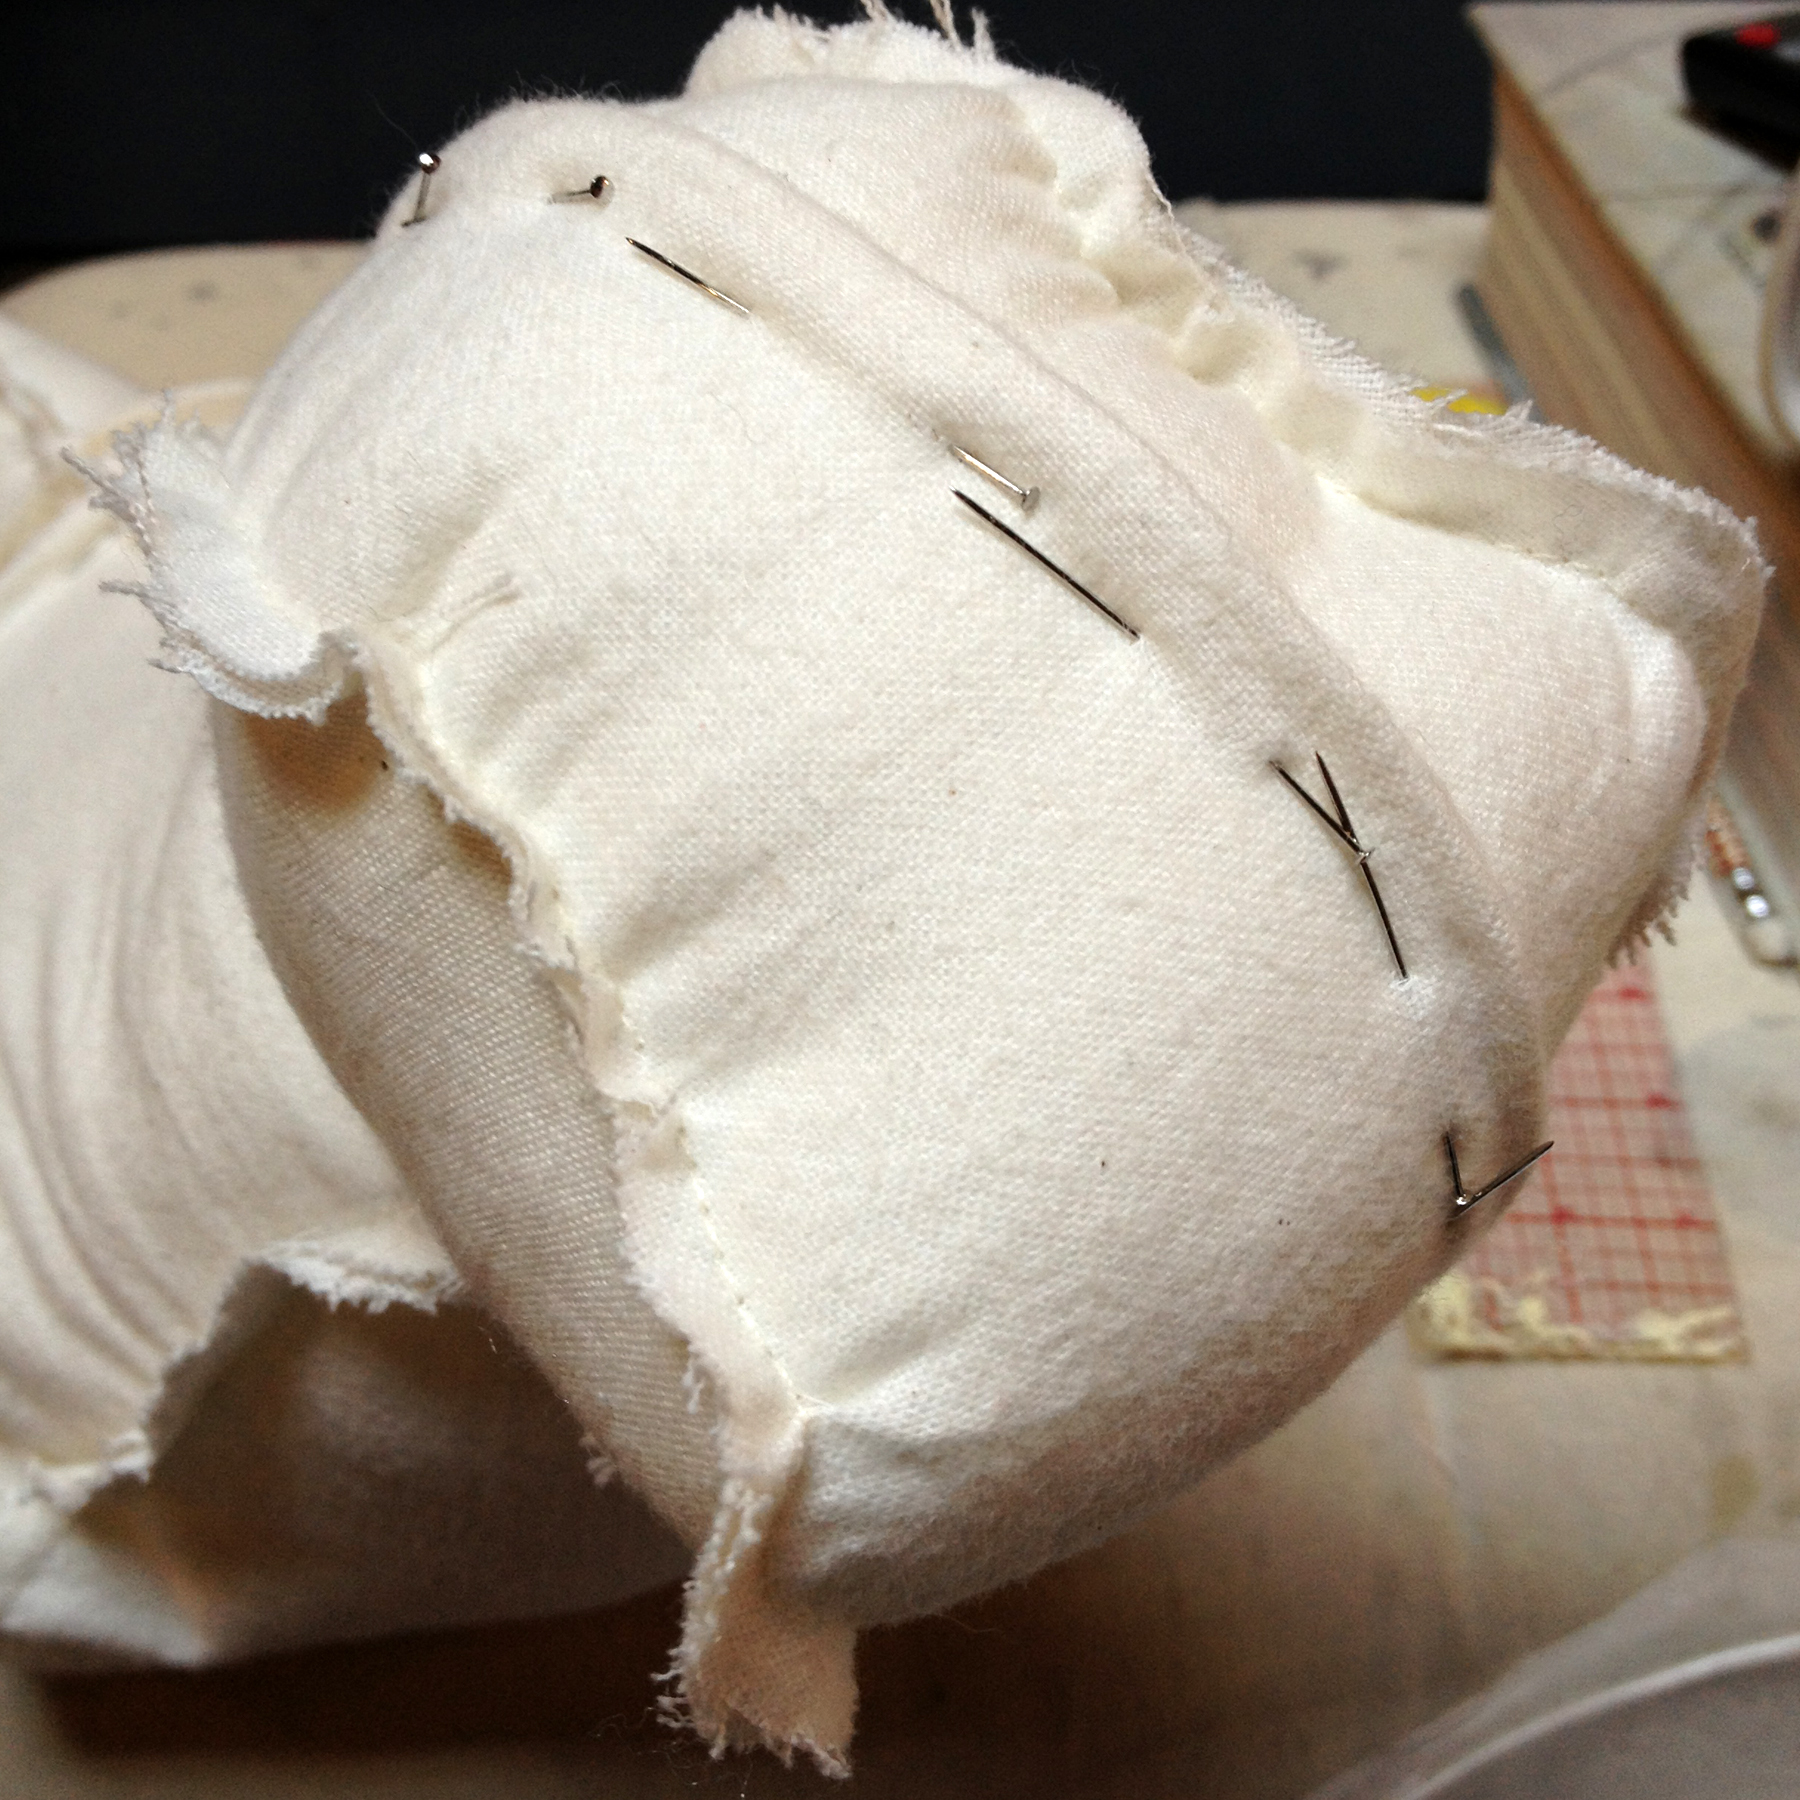
His face is too fat! A few things were off in my basic pattern, so I simply pinned until I was happier with the shape of things
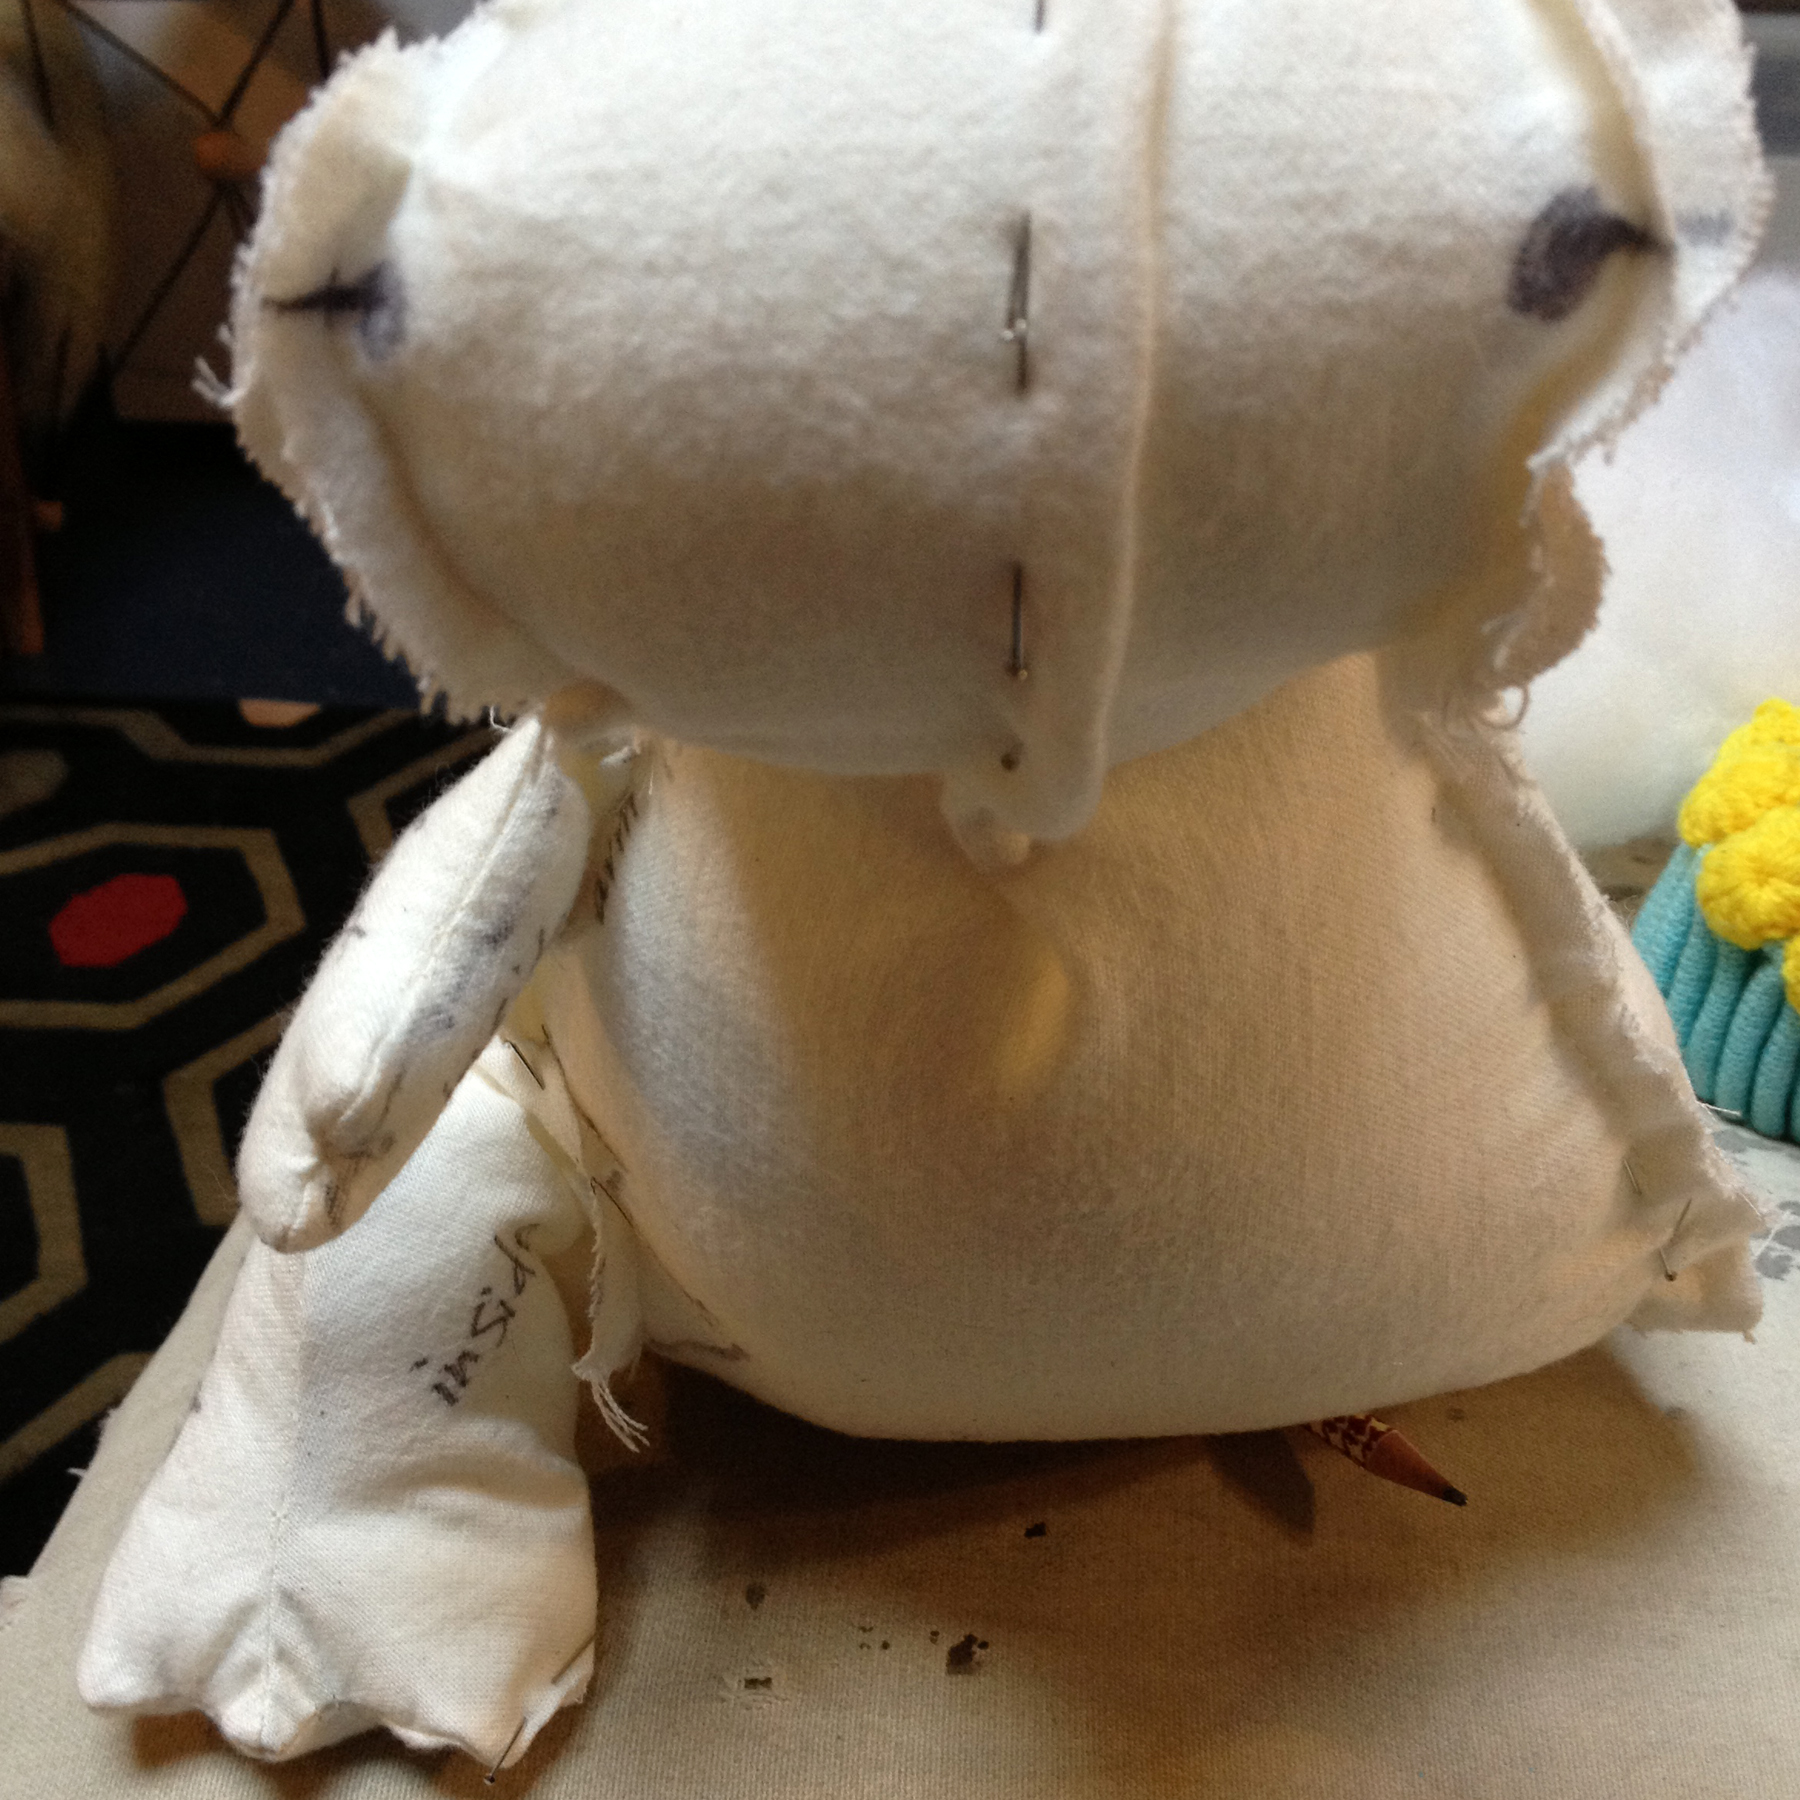
I pinned on a basic leg and arm, and then decided it would be easier to incorporate both into the body pattern pieces instead of adding them as separate appendages.

Once I was happy with everything, I used sharpie to mark the new seam lines and any important info I might need once the whole thing was in pieces. Marking where the pieces meet up is especially important when you’re putting the whole thing together, so make your own little markings or symbols to remember.

I took the dragon apart, cut along my seam lines and transferred the pattern to paper. Make sure you add “NSA” to your paper pattern so you remember there is no seam allowance if you use the pattern again in the future!
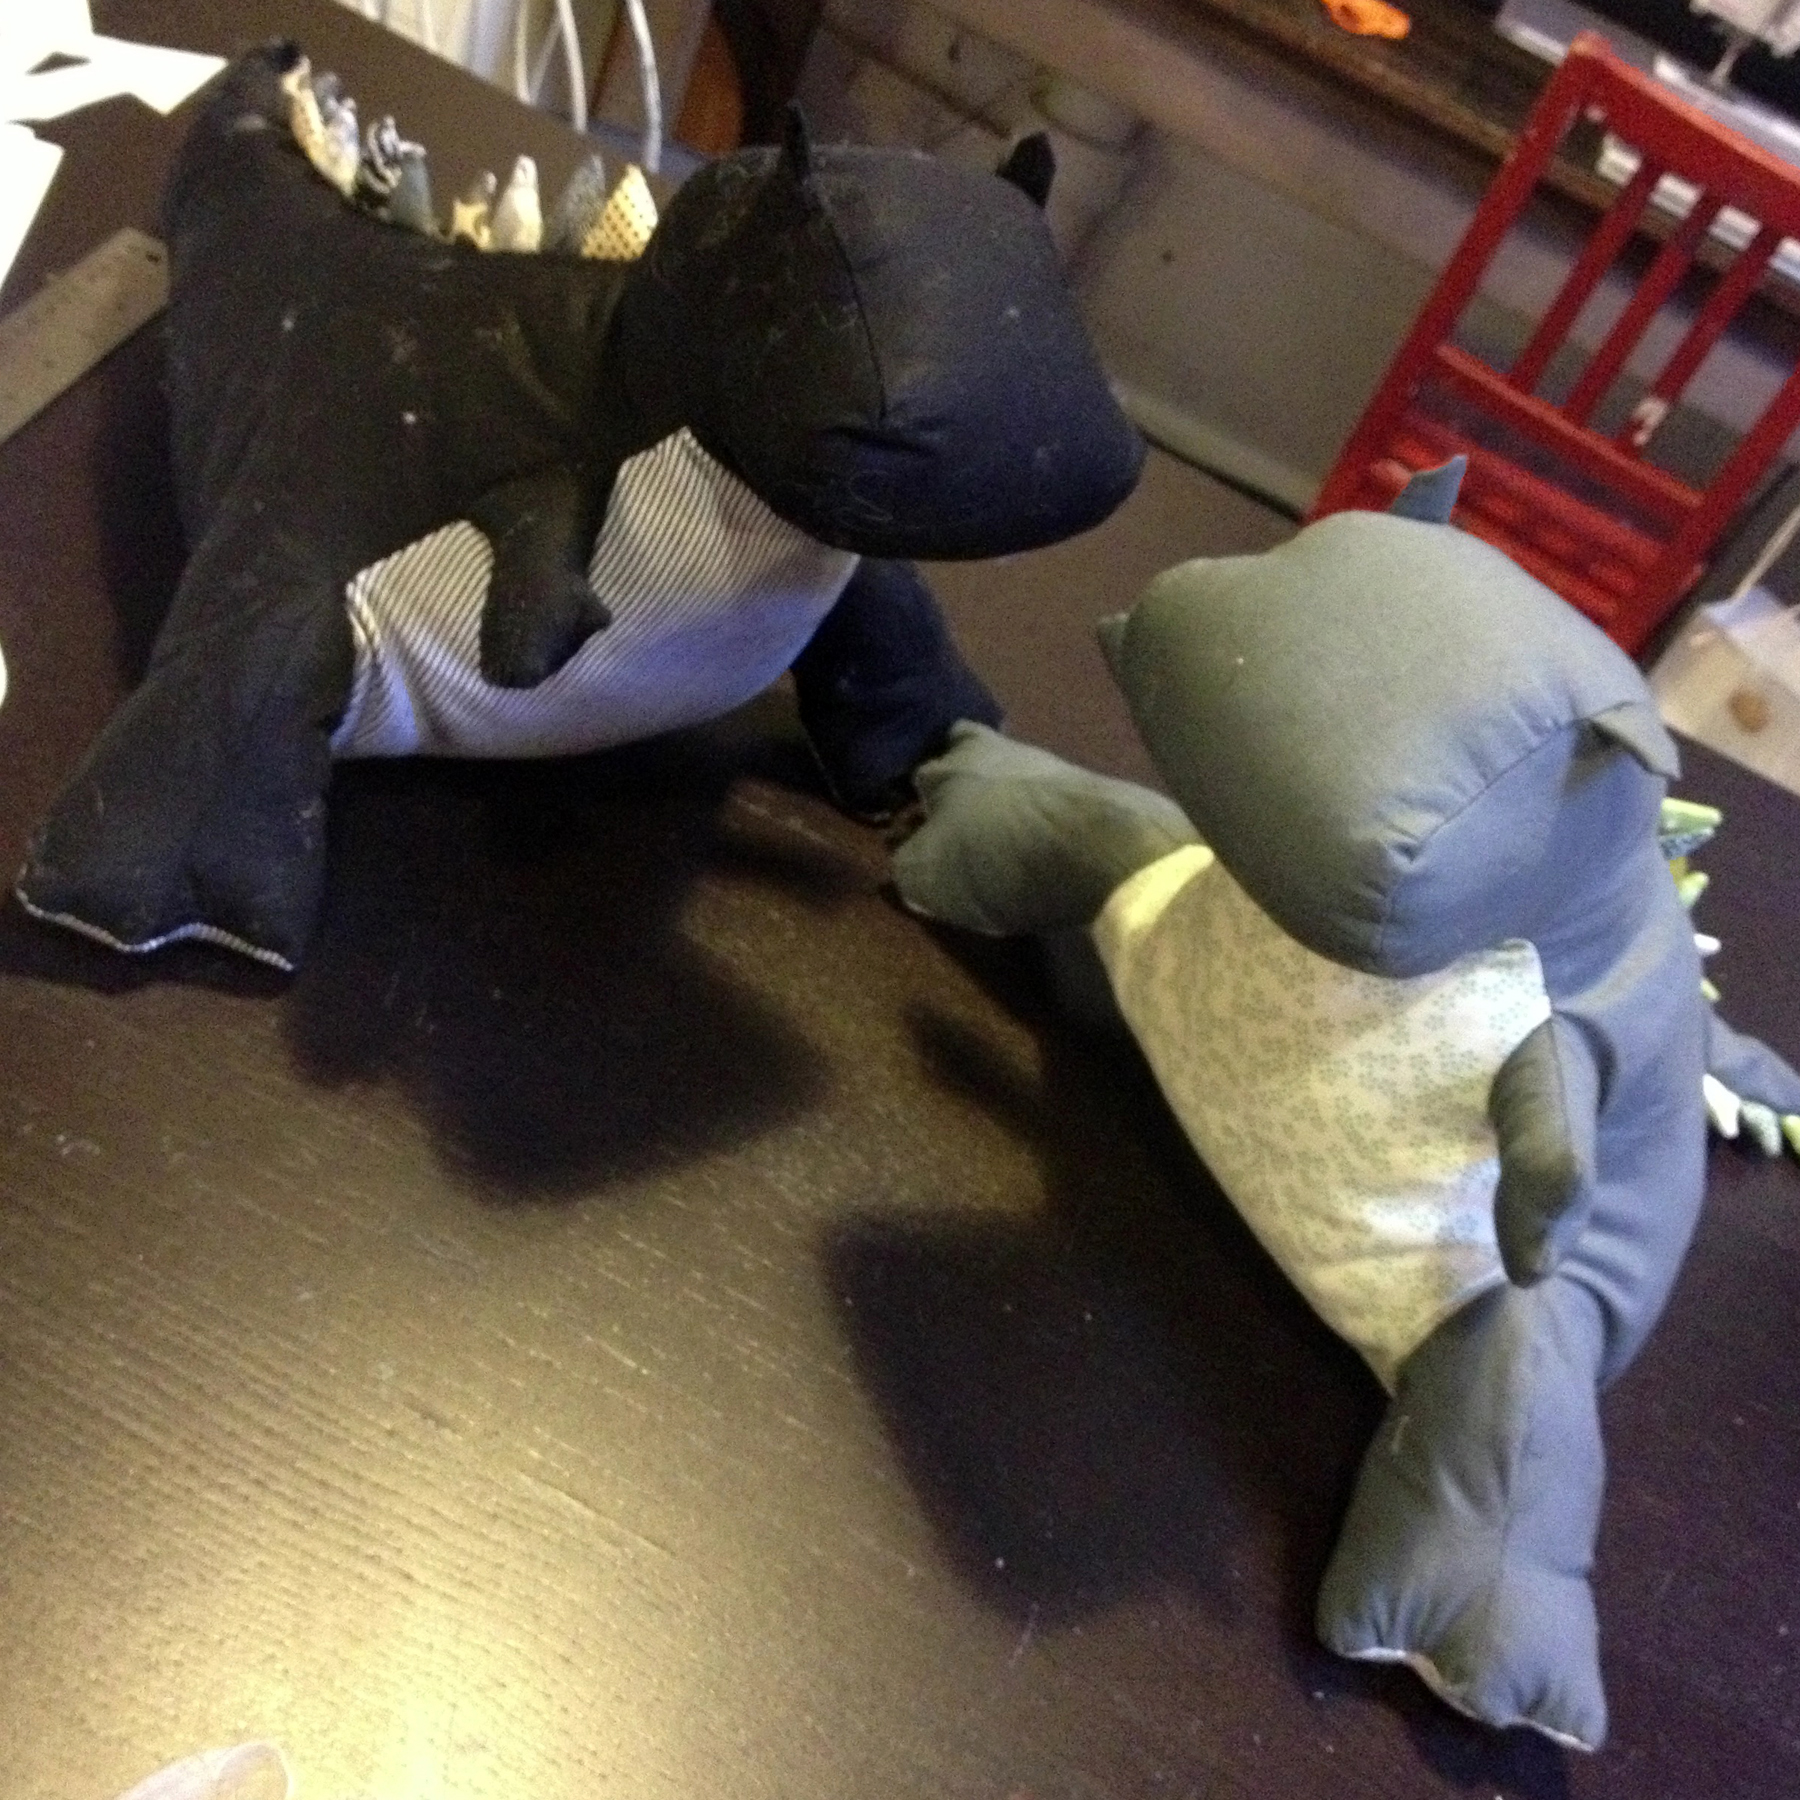
Here they are, stuffed and in real fabrics! I added a simple ear shape and spikes down the back when I was sewing everything together.
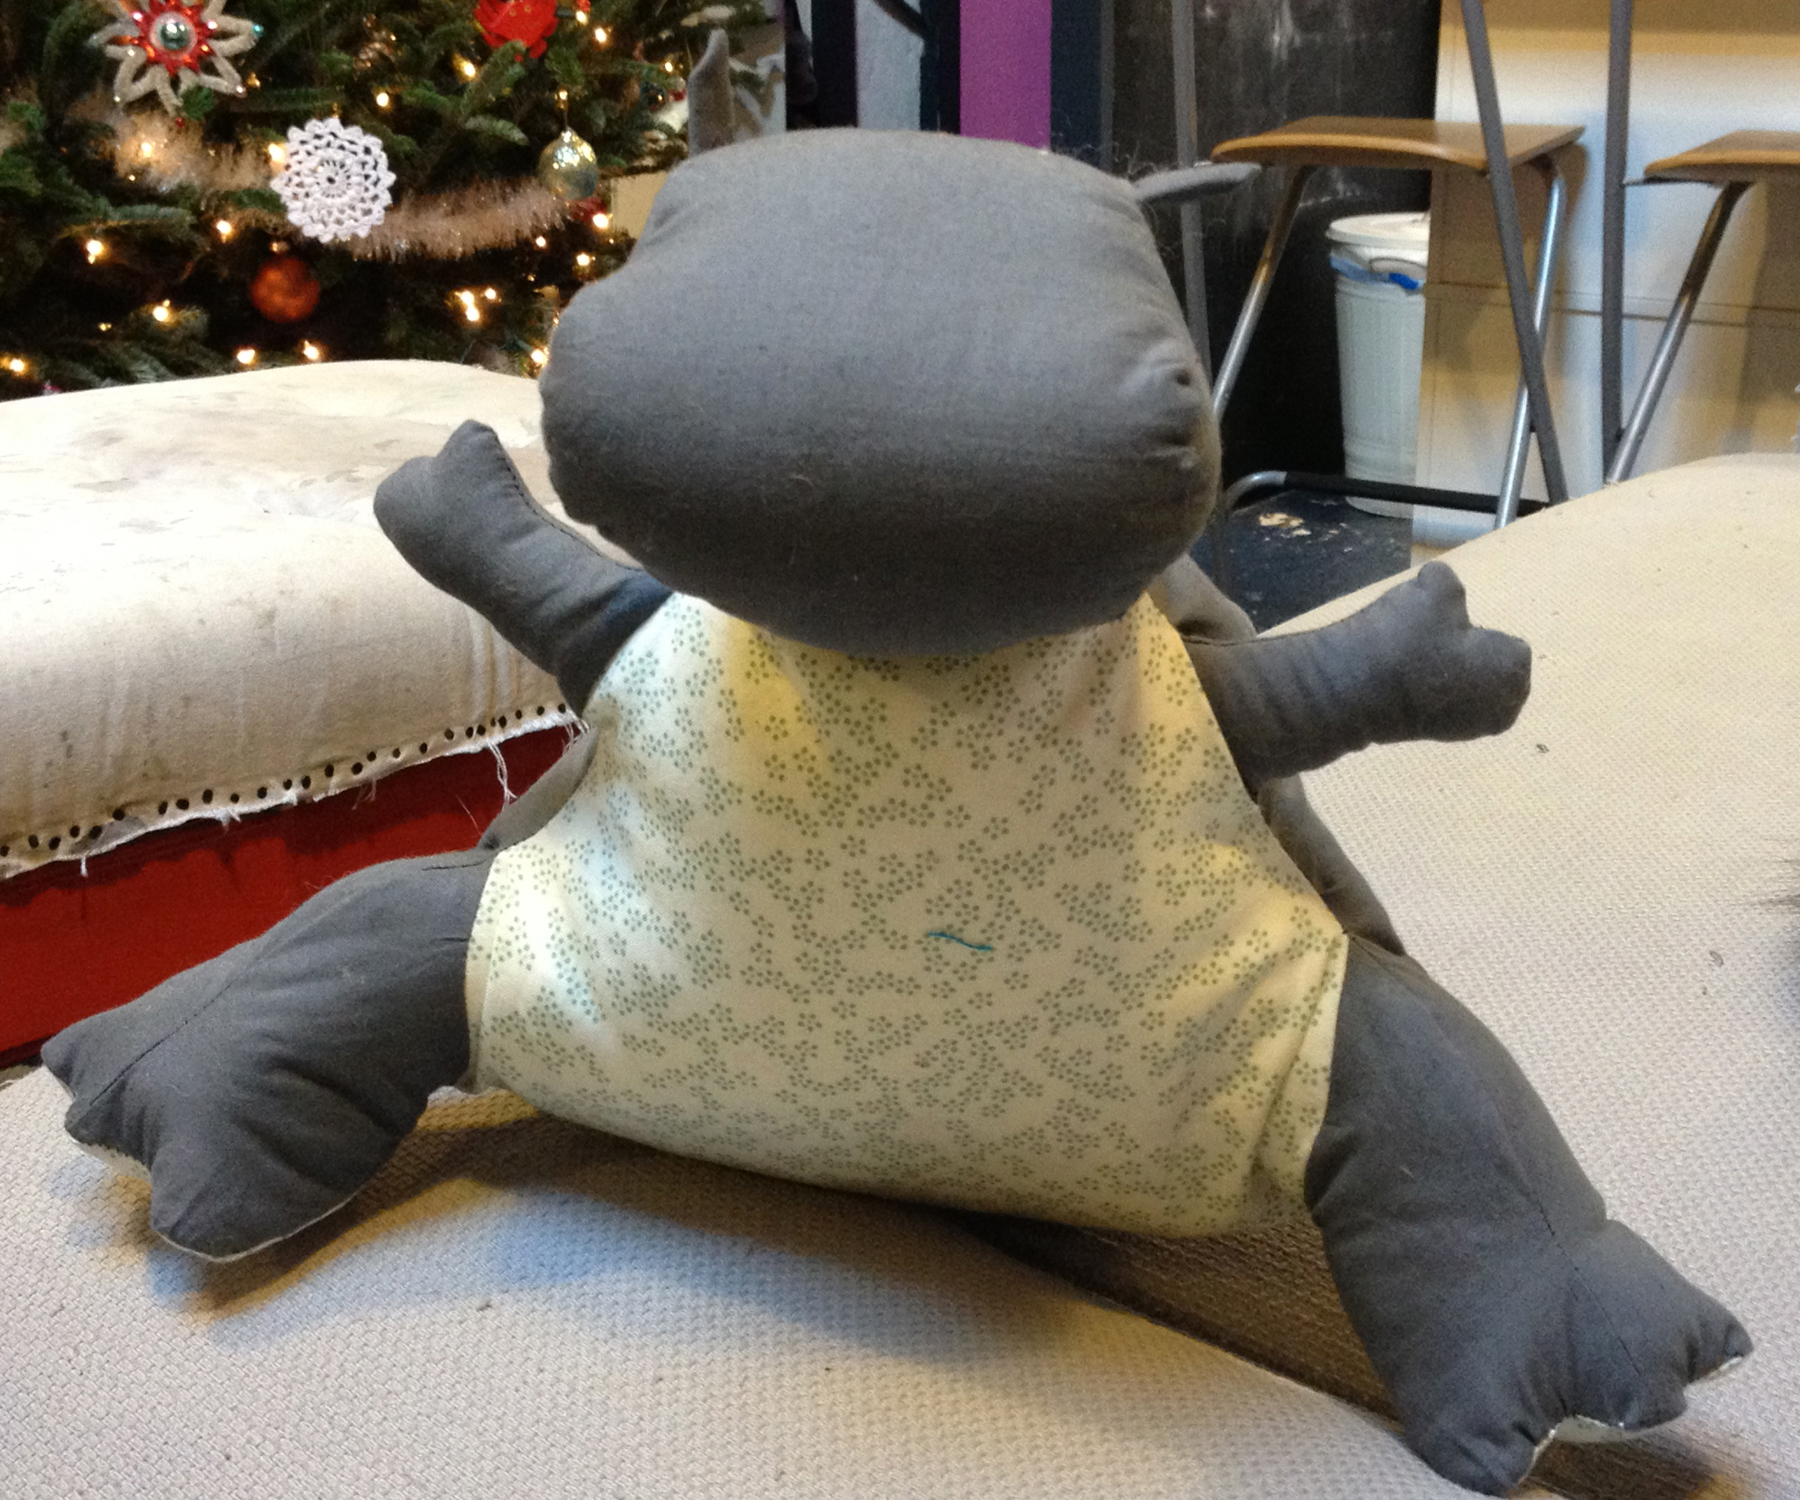
As you can see from the wide legs and open arms, my pattern definitely still needs some work. I decided to tack the legs and arms in this time around instead of doing a second “fitting” and remaking the whole thing. It worked beautifully!

I used my leather stamping kit to make dog collars for each dragon with my nephews’ names on them.
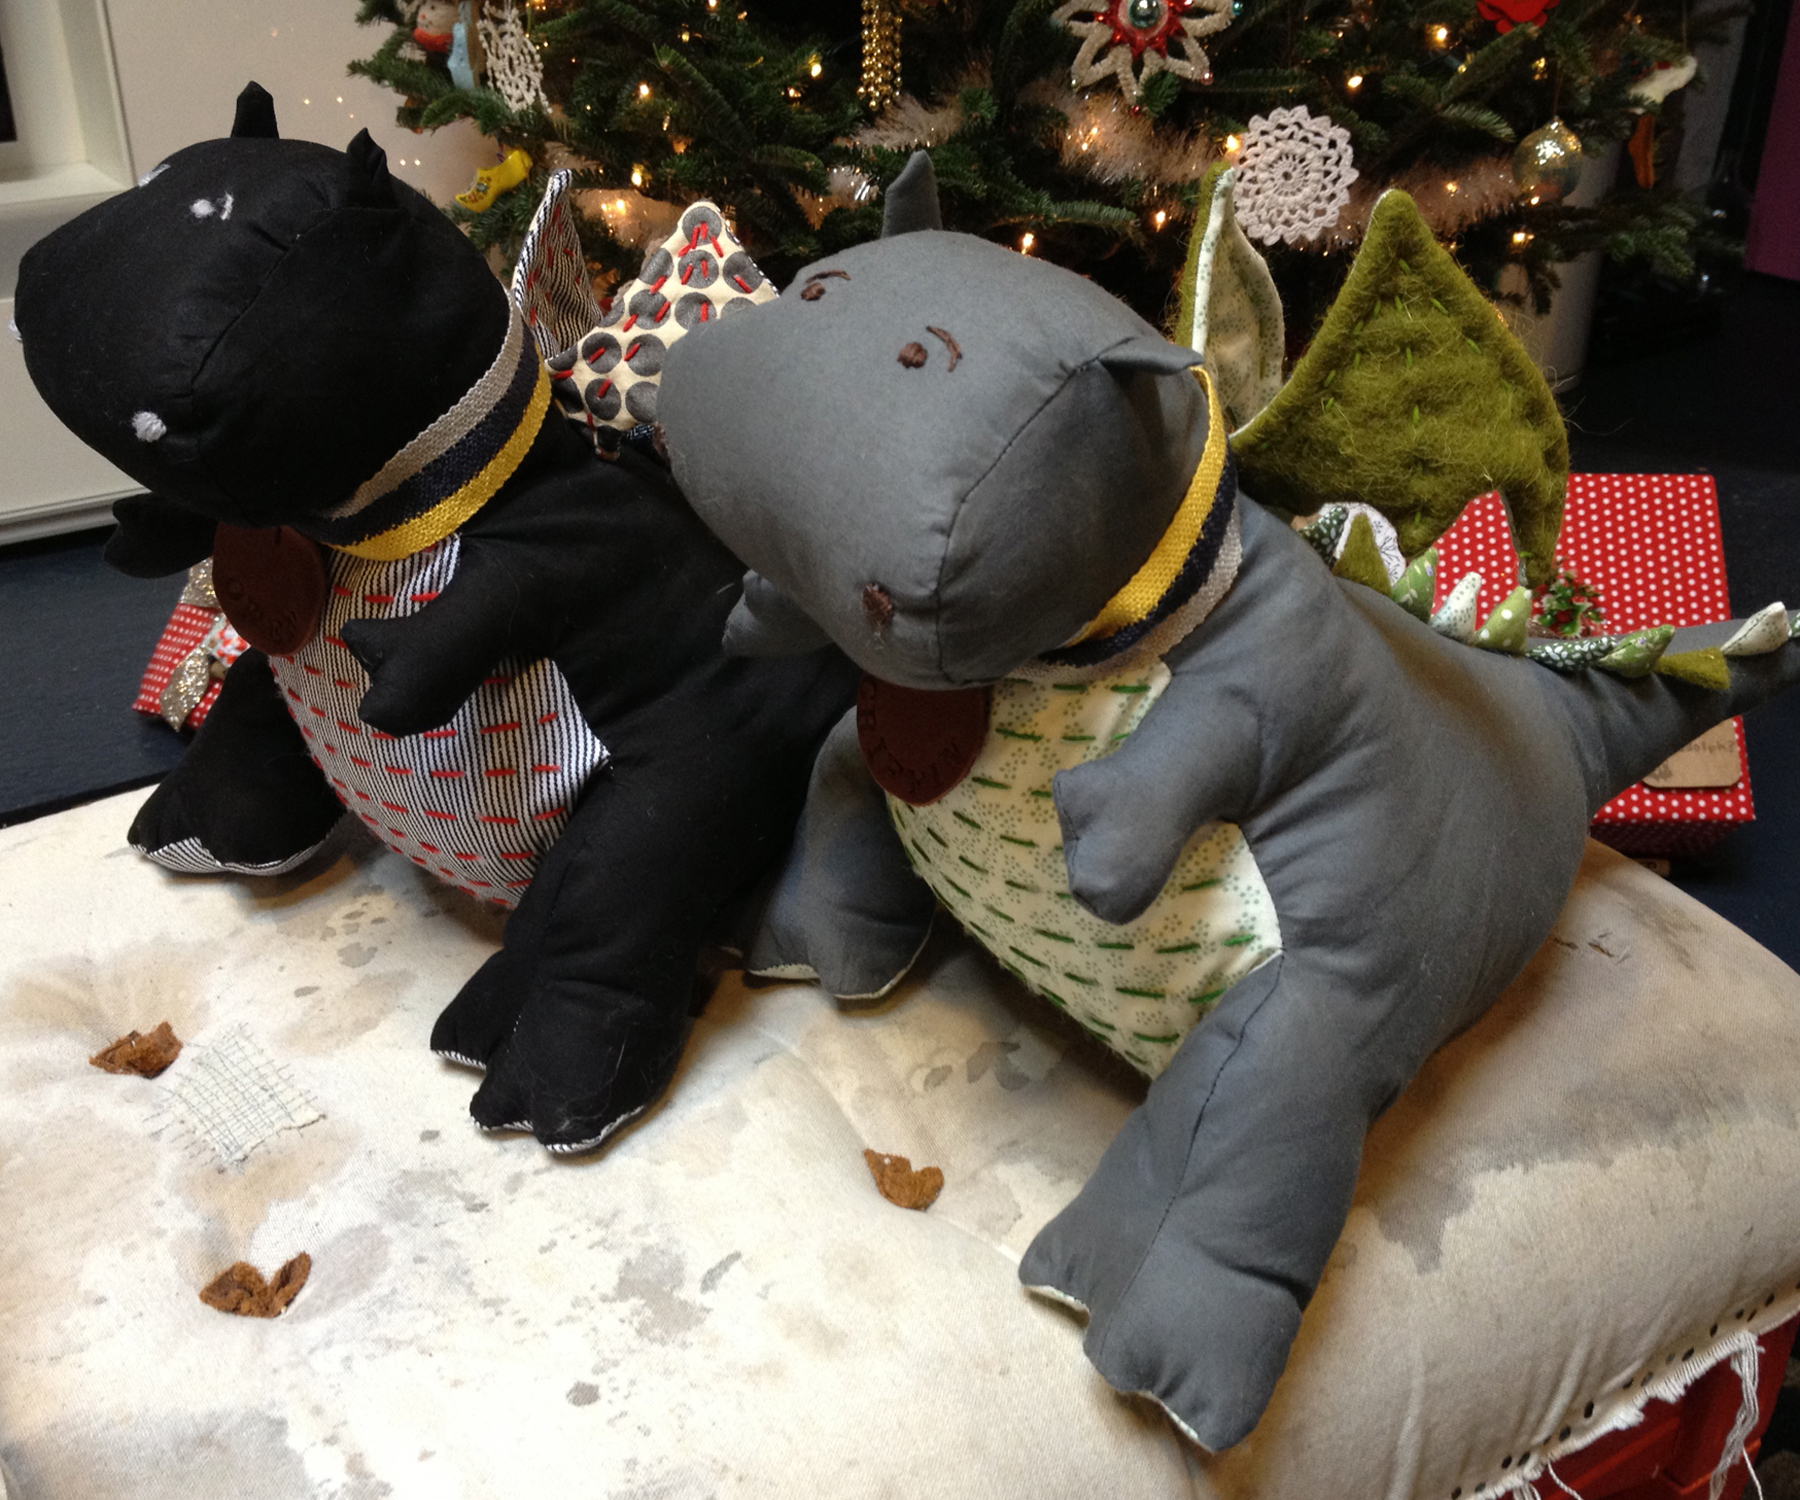
All done! I added ticking lines to their bellies, embroidered the nose and eyes, and made wings that are stiffened with a little jewelry wire and tacked into place.


Before any of you haters question the authenticity of these dragons… OF COURSE THEY DON’T LOOK LIKE REAL DRAGONS!!!! Our nephews are really young. Fiery eyes and leathery full-sized wings would just scare them, so lighten up.
These dragons are incredible! Wonderful details… my little boy would love one of these!
Pingback: DIY Woodland Nursery Decor |
Adorable! I am going to try a pink/purple one for my daughter’s 3rd birthday! Thanks for the tips!
These are adorable! Also, thanks for the tip on working out kinks in new patterns 🙂
Too cute and absolutely fabulous! Thank you for sharing!
Hi there – is there a PDF pattern available for these? I am short on time and in need of a dragon (or three!) just like these ones in time for Christmas… Have I missed a download link?
Cool Dragons i love how you tried something new