The interesting (er…annoying) thing about nursing a newborn is that you only have a few hours at a time to do anything while they are not eating, and most of that time is spent pumping for the future, changing their diaper or entertaining them. As a maker and a doer, this has been pretty tough for me, so I started trolling Pinterest for all those quick little projects I’ve always wanted to try out to make me feel like I’m accomplishing something. Without further ado, I bring you three DIY projects that you can actually finish while nursing a new baby!
Baby Prints
 I tested out three different types of non-toxic clay for George’s hand and footprints. The non-toxic air dry clay available at every art store is way to stiff to get a good print without injuring your baby! Don’t even try it! Paper Clay is the next softest and yields a decent print, but you have to really squish their hands and feet into it. I definitely prefer the finish of this clay the best and use it all the time for other purposes, but it’s still just a little too stiff for this job. The best clay ended up being the classic salt clay you make at home. While it doesn’t print the little detailed creases from their paws, it is the squishiest, easiest to use and cheapest option. Here’s the recipe I used:
Salt Clay
- 1 cup flour
- 1 cup salt
- up to 3/4 cup hot water
Mix salt with 1/2 cup of hot water until some of it dissolves. Mix in the flour and add a little more water at a time until a soft dough forms. You want it soft and blended, but not wet and sticky. Roll it out into a 1/2 inch thick circle or rectangle and squish those hands and feet in. You’ll probably want to do this with another person! Bake at 150-200 degrees on a parchment lined baking sheet for several hours or until dry and stiff. Keep in mind that you aren’t trying to cook the dough, you are just trying to dry it out, so keep the oven very low. When it’s nice and dry, let it cool and then paint it!

Three attempts, left to right: non-toxic air-dry clay, paper clay, homemade salt clay
Grow Your Own Scallions
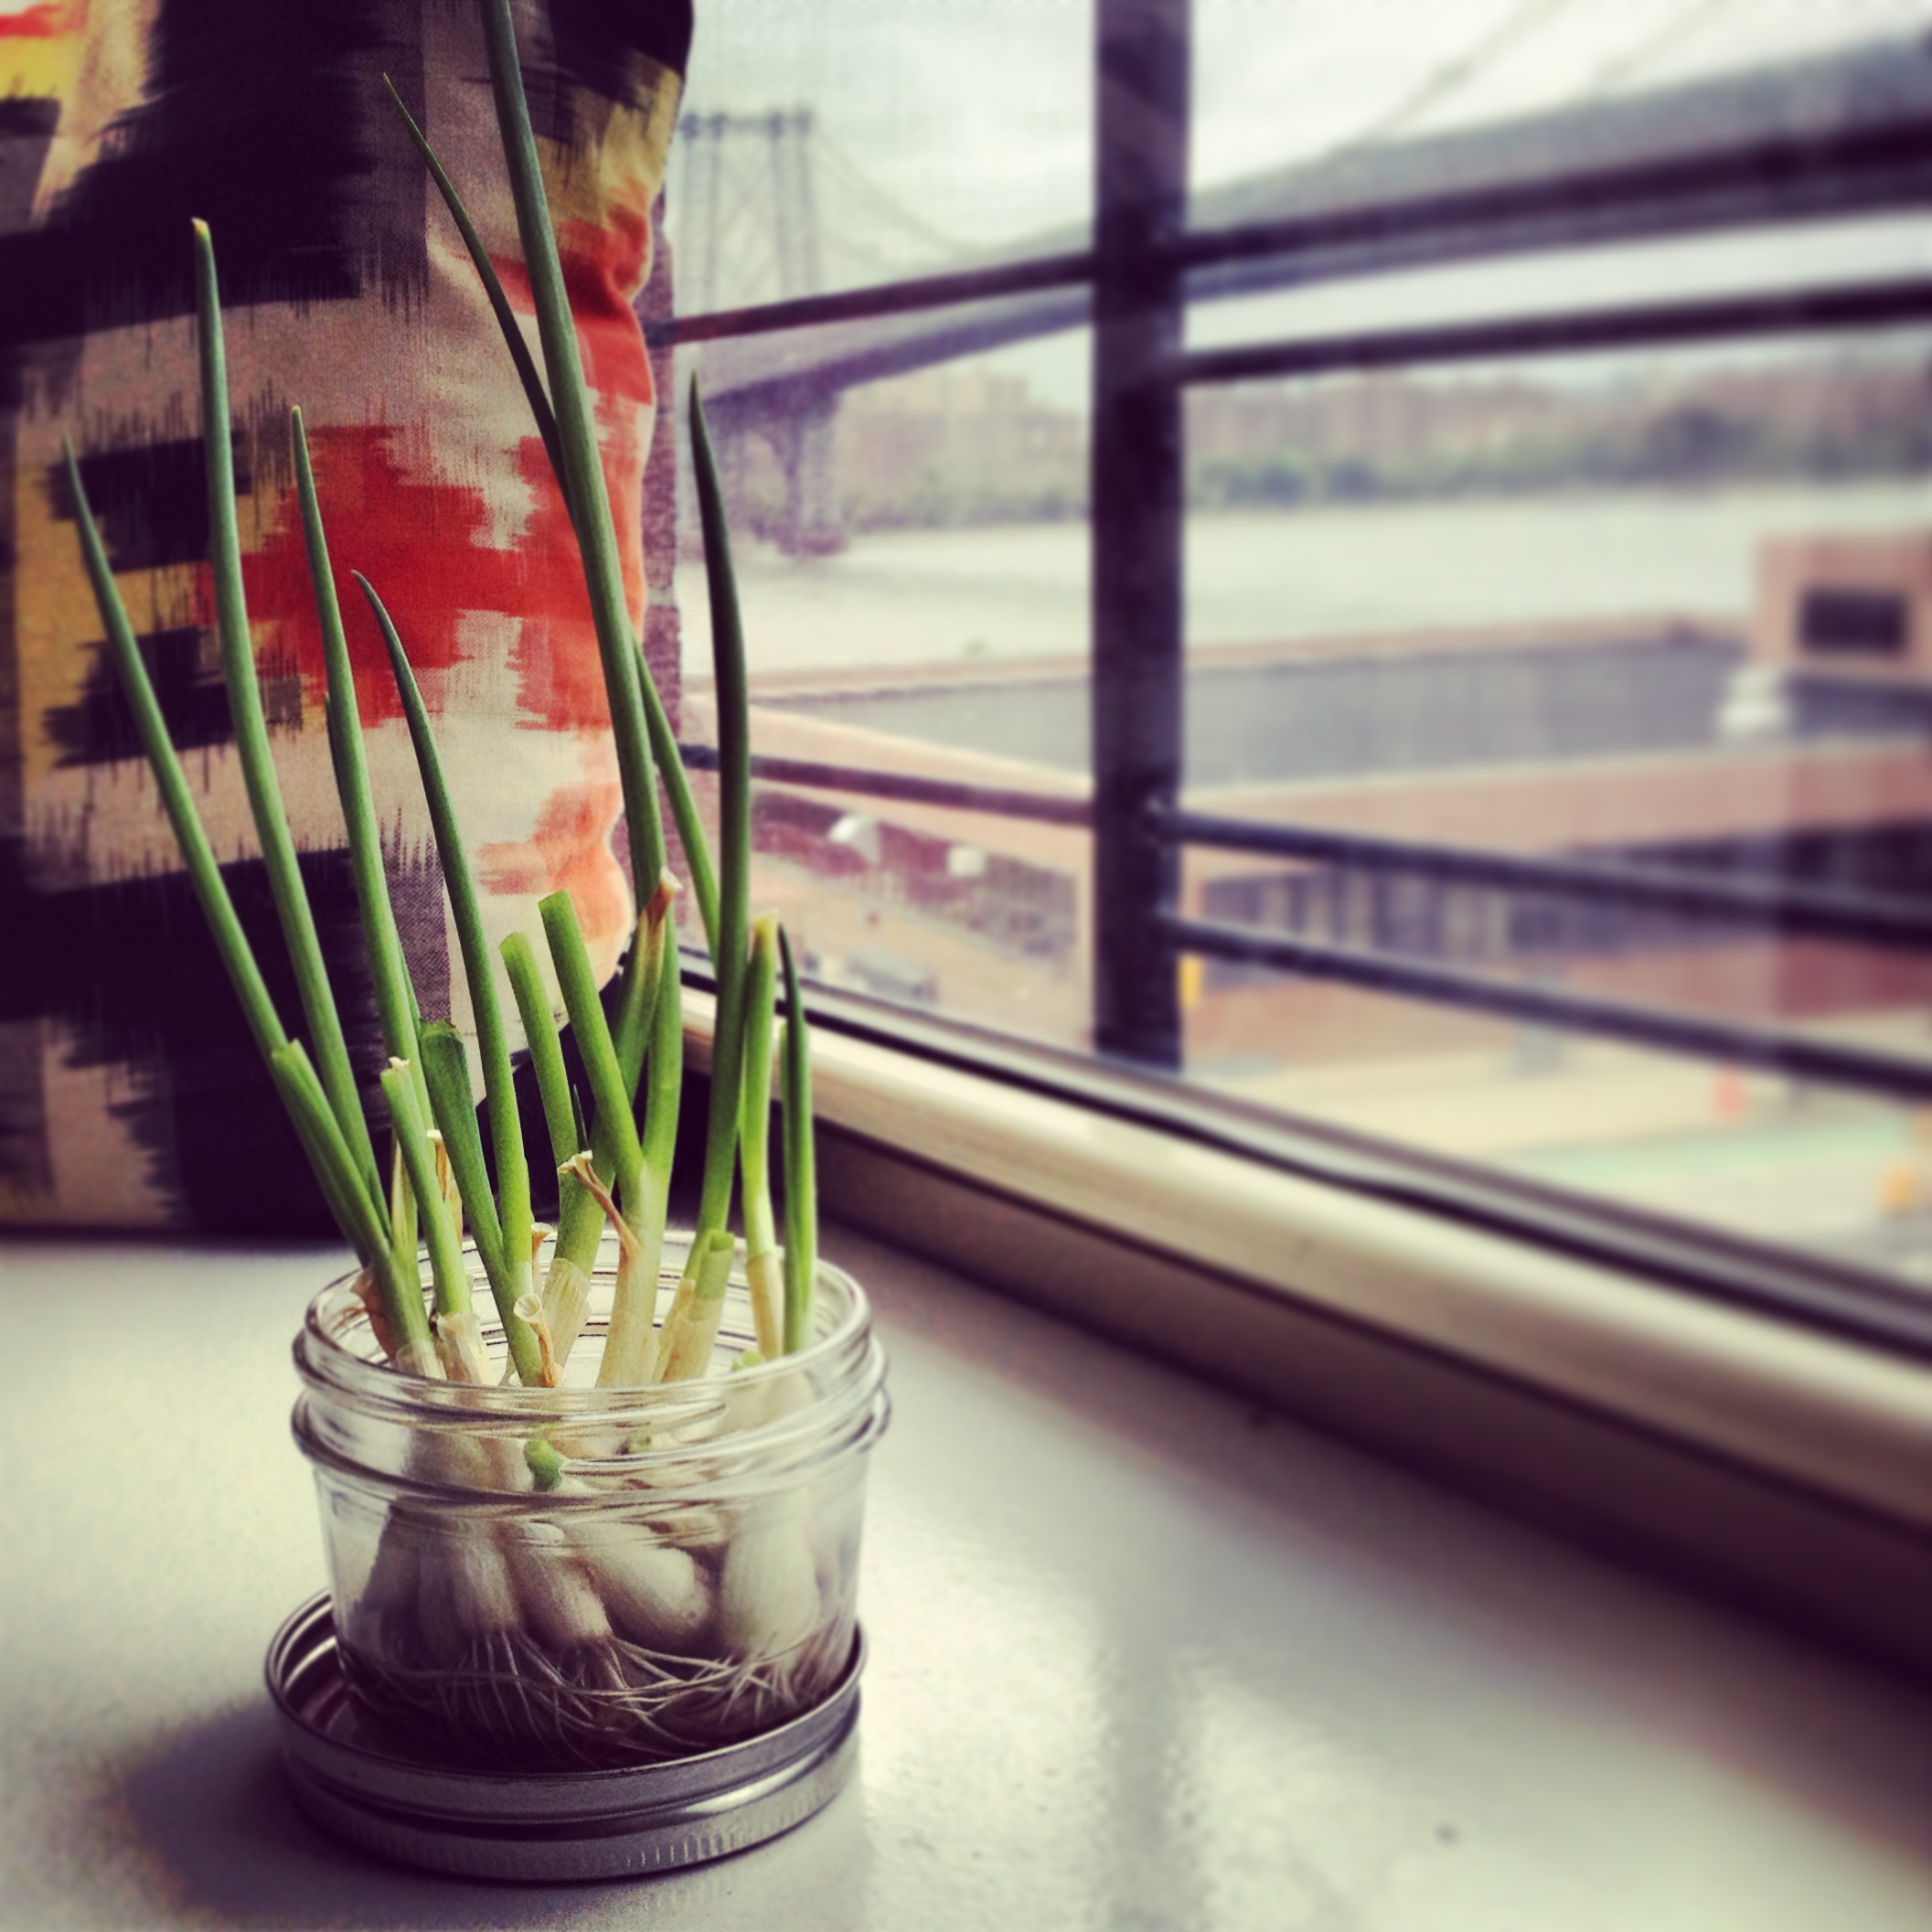 Did you know that you can regrow scallions from the bulb ends in just a little water?! I’ve always wanted to do this, but for some reason I never remember to save the ends of the scallions after I’ve cut the green tops off. All you have to do is place the white bulbs with the roots in a small cup filled with about 1/2 inch of water. If you don’t have a small enough glass to keep them upright, secure them together with a rubber band and they won’t fall over in a larger one. Keep the ends covered with water and in about a week, you’ll have a new bunch of scallions! Yeah…they are only a buck or so for a new bunch…but this is more fun!
Chocolate Pudding Pops
I’ve been craving Pudding Pops ever since they were discontinued! Every cheat recipe on the internet says something like “this recipe is the most like the real ones I’ve ever tried”, but honestly, how could we POSSIBLY know without having a side by side comparison anyway? Personally, this recipe hit the spot for me! They are chocolatey, a little icy and have that perfect creamy finish like the real thing.
Chocolate Pudding Pops
makes about 10 pops
- 1 3.9 oz. package chocolate pudding
- 2 cups cold 1% milk
- 1 cup thawed Cool Whip
Whisk pudding mix and milk in a bowl for 2 minutes. Stir in the Cool Whip until well blended. Spoon into 10 popsicle molds, add sticks if needed and freeze at least 4 hours or until firm.